Computers have weak speakers and subpar audio that, more often than not, ruins the movie-watching or gaming experience. It is ideal to add speakers to improve the sound quality of the PC.
Bookshelf speakers are perfect for this purpose, letting you enjoy multimedia with top-notch audio performance.
Connecting bookshelf speakers to a PC can be tricky for a novice, therefore, follow the guidelines to know about the process.
How to Connect Bookshelf Speakers to a PC?
The actual process of connecting Bookshelf speakers to a PC is quite easy and can be done in a few simple steps.
Place the bookshelf speaker and PC closer and get all the required accessories to start the setup process.
Four Things You Need To Connect Both Devices
Have these four things in place to connect the PC to a bookshelf speaker.
PC
It is a no-brainer that you will need a PC or laptop. Being the main component in this setup, it must have all the relevant and necessary music player software installed.
Bookshelf Speakers
Get a pair of bookshelf speakers to get the best audio quality. Moreover, ensure they are in good condition to produce the sound levels you desire.
Amplifier
This essential equipment powers the speaker and converts electrical signals from a computer or PC into sound waves.
It is best to get a desktop amplifier with a USB and 3.5 mm input port.
3.5mm to RCA Cable
This cable is responsible for connecting the main components of the setup by facilitating the flow of electric signals.
Steps to Connect Bookshelf Speakers to a Computer
After gathering the required accessories, it is time to initiate the setup process which takes only a couple of minutes or so.
It is a relatively easy task, all you have to do is follow the given guidelines for connecting both devices.
1. Connect Speakers to The Amplifier
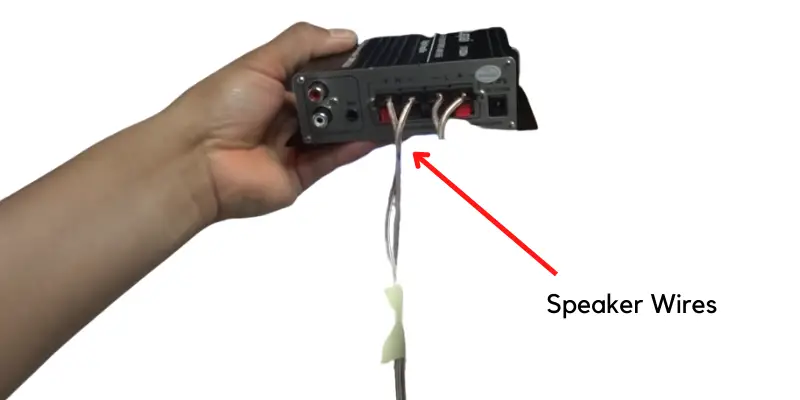
The first step of the process is to connect the bookshelf speakers to the amplifier by inserting the wires in the correct terminals.

Take the left speaker wire to plug it into the left terminal of the amplifier. Similarly, grab the free end of the right speaker wire to insert it into the right terminal of the amplifier.
2. Connect PC to The Amplifier
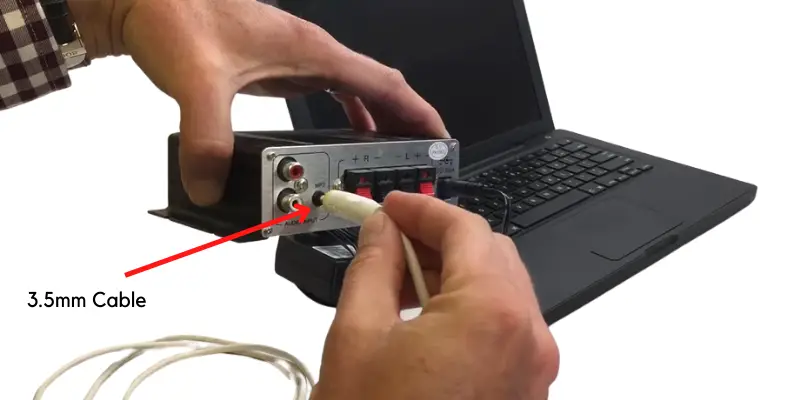
Next up, connect the computer to the amplifier using a 3.5mm to RCA cable. Plugin the RCA end of the cable to the amplifier’s ports.

The two pins of the RCA cable, for instance, the red side should be connected to the red port and the same goes for white. Insert the AUX end of the RCA cable to the PC.
3. Insert Power Cable in the Amplifier
After ensuring that the RCA cable is recognized by the PC, proceed to insert the power cable to the amplifier, and turn on the power by plugging the cable into a power source.
4. Test the Connection
That’s all! Now test the connection by playing music or any sound to see if both devices are connected and producing sound.
This is all it takes for a successful connection, now, sit back, and enjoy the sound of the media player on the PC or laptop.
Conclusion
It is just not enough to connect these speakers in the right way as a number of factors influence the sound quality. Improve audio with correct placement, maintain the ideal distance, and remove obstructions.


